
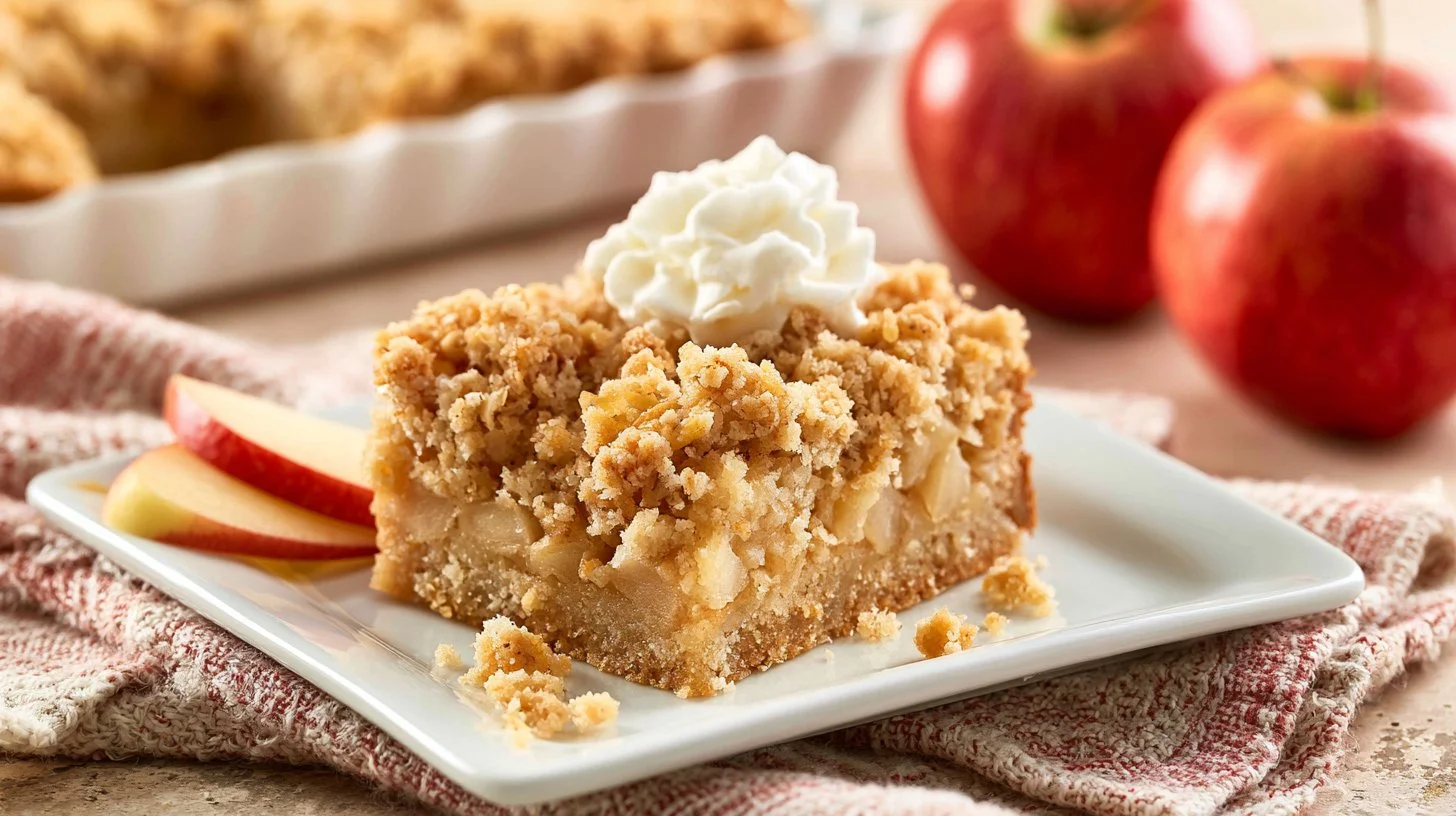
Apple Crisp Bars are the perfect dessert for those who crave a delightful blend of flavors and textures. Imagine biting into a warm, gooey bar that captures the essence of apple crisp—juicy, sweet apples nestled between layers of buttery oat crumble. These bars combine the rustic charm of traditional apple crisp with the convenience of a handheld snack, making them ideal for sharing at potlucks, family gatherings, or simply enjoying as a cozy after-dinner treat. Their warm, cinnamon-scented aroma fills your kitchen, creating an inviting atmosphere that draws family and friends together. Once you’ve tasted a slice, you’ll understand why Apple Crisp Bars quickly become a cherished recipe in many homes.
Why You’ll Love This Recipe
- Simplicity: With just a handful of pantry staples, these bars come together quickly and easily, making them perfect for bakers of all skill levels.
- Flavorful: The combination of sweet apples and warm cinnamon offers a delicious, comforting flavor that feels like a hug in a dessert.
- Textural Delight: The chewy, buttery oat crust creates a delightful contrast to the tender apple filling, making each bite satisfying.
- Family Favorite: These bars are a hit with both adults and kids, making them a go-to dessert for family gatherings and parties.
- Make-Ahead: These bars can be made ahead and stored for a few days, making them perfect for meal prep or last-minute outings.
- Versatility: Enjoy them warm or chilled, plain or topped with ice cream or whipped cream for an indulgence.
What Makes This Recipe Special
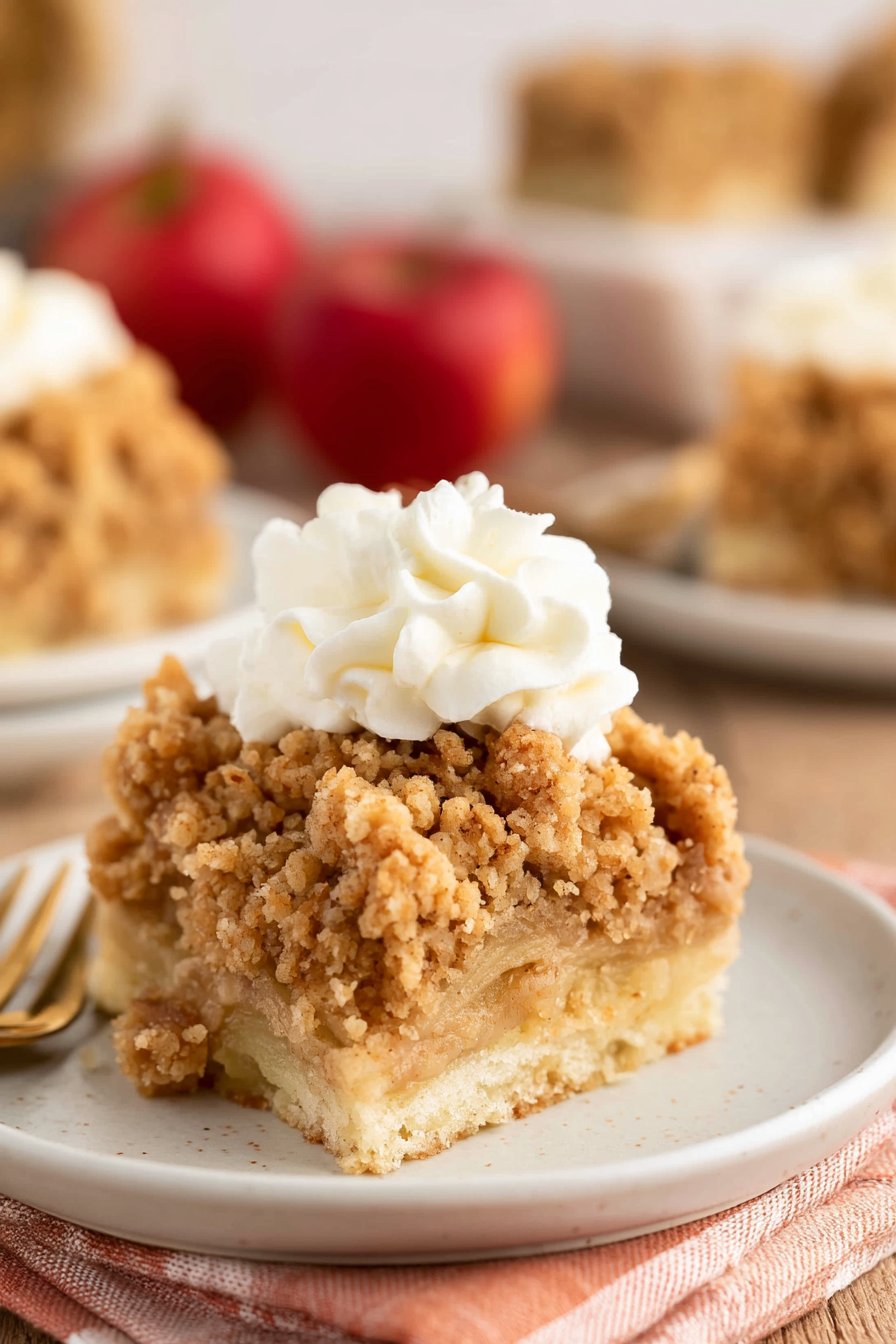
These Apple Crisp Bars stand out not just for their flavor but also for their versatility. The use of old-fashioned oats gives the bars a rustic texture that’s chewy yet crumbly, making them a comforting treat. The addition of salted butter enhances the flavor, balancing the sweetness of the brown sugar and sugar used in the recipe. The apples, sliced thinly, create a tender filling that melds beautifully with the buttery oat layers. Sprinkling cinnamon throughout adds a warm spice that makes every bite feel like fall, capturing the essence of apple season all year round.
Whether enjoyed as an afternoon snack or a dessert after dinner, these bars are sure to impress. Plus, they can be customized with nuts, dried fruit, or even a swirl of caramel for an extra layer of deliciousness.
Ingredients
- 1 3/4 cups old-fashioned oats
- 3/4 cup salted butter, melted
- 1 cup brown sugar
- 1 1/2 cups all-purpose flour
- 1/4 tsp baking soda
- 2 1/2 cups apples, sliced
- 1/2 cup sugar
- 2 tbsp salted butter
- 3/4 tsp cinnamon
Each ingredient plays a vital role in creating the ultimate apple dessert. Here are some key notes on the ingredients:
- Old-Fashioned Oats: These provide the chewy texture and hearty base for the bars. Quick oats can be used in a pinch but may not yield the same texture.
- Salted Butter: Using salted butter enriches the flavor, but unsalted butter can be substituted if preferred.
- Brown Sugar: This imparts a deep, molasses-like sweetness making the bars incredibly flavorful.
Ingredient Notes and Easy Substitutions
- You can experiment with different types of apples. Granny Smith adds a tart contrast, while Honeycrisp offers sweetness and crunch.
- If you don’t have brown sugar, a combination of granulated sugar with molasses could be used to mimic its flavor.
- For a nutty twist, consider adding 1/2 cup of chopped walnuts or pecans to the oat mixture. They’ll add a nice crunch.
- Gluten-free options are available by substituting the all-purpose flour with a 1:1 gluten-free flour blend. Just be sure to use certified gluten-free oats if necessary.
Instructions
- Preheat the Oven: Start by preheating your oven to 375°F (190°C). Grease a square baking pan with butter or cooking spray to prevent sticking.
- Prepare the Oat Mixture: In a large bowl, stir together the old-fashioned oats, melted salted butter, brown sugar, all-purpose flour, and baking soda until fully combined. The mixture should be crumbly.
- Layer the Oats: Press half of the oat mixture firmly into the bottom of your greased baking pan to create a solid base.
- Add the Apples: Arrange the sliced apples evenly over the oat crust, ensuring they cover the entire layer. Dot the apple layer with the 2 tablespoons of salted butter.
- Sprinkle Sugar and Cinnamon: Mix the sugar and cinnamon together, then sprinkle this blend generously over the apples for added sweetness and spice.
- Top with Remaining Oats: Cover the apples with the remaining oat mixture, spreading it evenly across the top.
- Bake: Place the pan in the preheated oven and bake for 40 minutes or until the top is golden brown and the apples are bubbling.
- Cool and Serve: Remove from the oven and allow to cool in the pan before cutting them into squares. Serve warm or at room temperature.
Expert Tips for the Best Results
- Chill Butter: If you prefer a flakier texture, chill the butter before melting to keep it from becoming too soft.
- Apple Choice: Use a mix of sweet and tart apples for a balanced flavor profile.
- Don’t Overbake: Keep a close eye during the last few minutes of baking; you want a golden top but not burnt edges.
- Cool Completely: Allow the bars to cool completely in the pan for cleaner cuts.
Variations
- Caramel Apple Crisp Bars: Drizzle store-bought or homemade caramel sauce over the apple layer before adding the top oat crust.
- Nutty Version: Add 1/2 cup of chopped almonds or walnuts into the oat mixture for added crunch.
- Berry Blend: Mix in some fresh or frozen berries (like blueberries or cranberries) with the apples for a different fruit flavor.
- Spiced Version: Incorporate nutmeg or ginger along with the cinnamon for an added depth of flavor.
- Chocolate Drizzle: After cooling, drizzle melted chocolate over the cooled bars for a sweet finish.
Serving Suggestions
Apple Crisp Bars are delicious on their own but can be taken to the next level with some creative serving ideas:
- Serve warm topped with a scoop of vanilla ice cream for an indulgent dessert.
- Pair them with whipped cream or cottage cheese for a lighter option.
- Drizzle a bit of caramel sauce or chocolate sauce over the top for added flair.
- Serve alongside a steaming cup of coffee or hot apple cider for a cozy fall treat.
Storage and Reheating
- Storage: Keep any leftovers in an airtight container at room temperature for up to 3 days. For longer freshness, store them in the refrigerator for up to a week.
- Reheating: To enjoy these bars warm, simply pop them in the microwave for about 15–20 seconds or reheat in a 350°F oven for 5–10 minutes.
- Make-Ahead: Prepare the bars a day in advance; they actually taste even better the next day as the flavors meld.
Common Mistakes to Avoid
- Incorrect Oven Temperature: Always ensure your oven is fully preheated. An undercooked or overcooked bar can ruin the perfect dessert.
- Too Many Apples: While apples are delicious, make sure not to overload the filling to prevent sogginess.
- Not Pressing the Base: Ensure the first oat layer is firmly pressed into the pan for stability when cutting.
FAQ
How can I ensure the bars stay chewy?
To achieve optimal chewiness, avoid overbaking and allow the bars to cool in the pan before cutting.
Can I freeze the Apple Crisp Bars?
Yes, wrap them tightly in plastic wrap and then foil before freezing. They can be frozen for up to 3 months. Thaw in the refrigerator overnight before serving.
What type of apples are best for baking?
Firms apples like Granny Smith, Honeycrisp, or Braeburn are ideal for maintaining their shape and flavor during baking.
Can I change the sweetener in this recipe?
Absolutely! You can use coconut sugar or maple syrup as alternatives, but note that the texture might vary slightly.
How do I know when the bars are done baking?
The bars are done when they are golden brown on top, and you can see the apple juices bubbling around the edges.
How long do these bars last?
They can be kept at room temperature for about 3 days or refrigerated for up to a week.
Conclusion
Apple Crisp Bars are not just a treat; they are a delightful celebration of flavors and textures that make any occasion memorable. Whether shared at a gathering or enjoyed during a quiet evening, these bars bring the warmth of home baking right into your kitchen. They’re easy to make, adaptable to your taste, and most importantly, deliciously satisfying. If you’re looking to create a dessert that everyone will love, give these Apple Crisp Bars a try. Don’t forget to share your creations, and save this recipe for your next baking adventure! Happy baking!
Apple Crisp Bars
Ingredients
Method
- Preheat your oven to 375°F (190°C). Grease a square baking pan with butter or cooking spray.
- In a large bowl, stir together the old-fashioned oats, melted salted butter, brown sugar, all-purpose flour, and baking soda until crumbly.
- Press half of the oat mixture into the bottom of the greased baking pan.
- Arrange the sliced apples over the oat crust and dot with the 2 tablespoons of salted butter.
- Mix sugar and cinnamon together; sprinkle over the apple layer.
- Spread the remaining oat mixture on top of the apples.
- Bake for 40 minutes until golden brown and bubbling.
- Allow to cool before cutting into squares.