
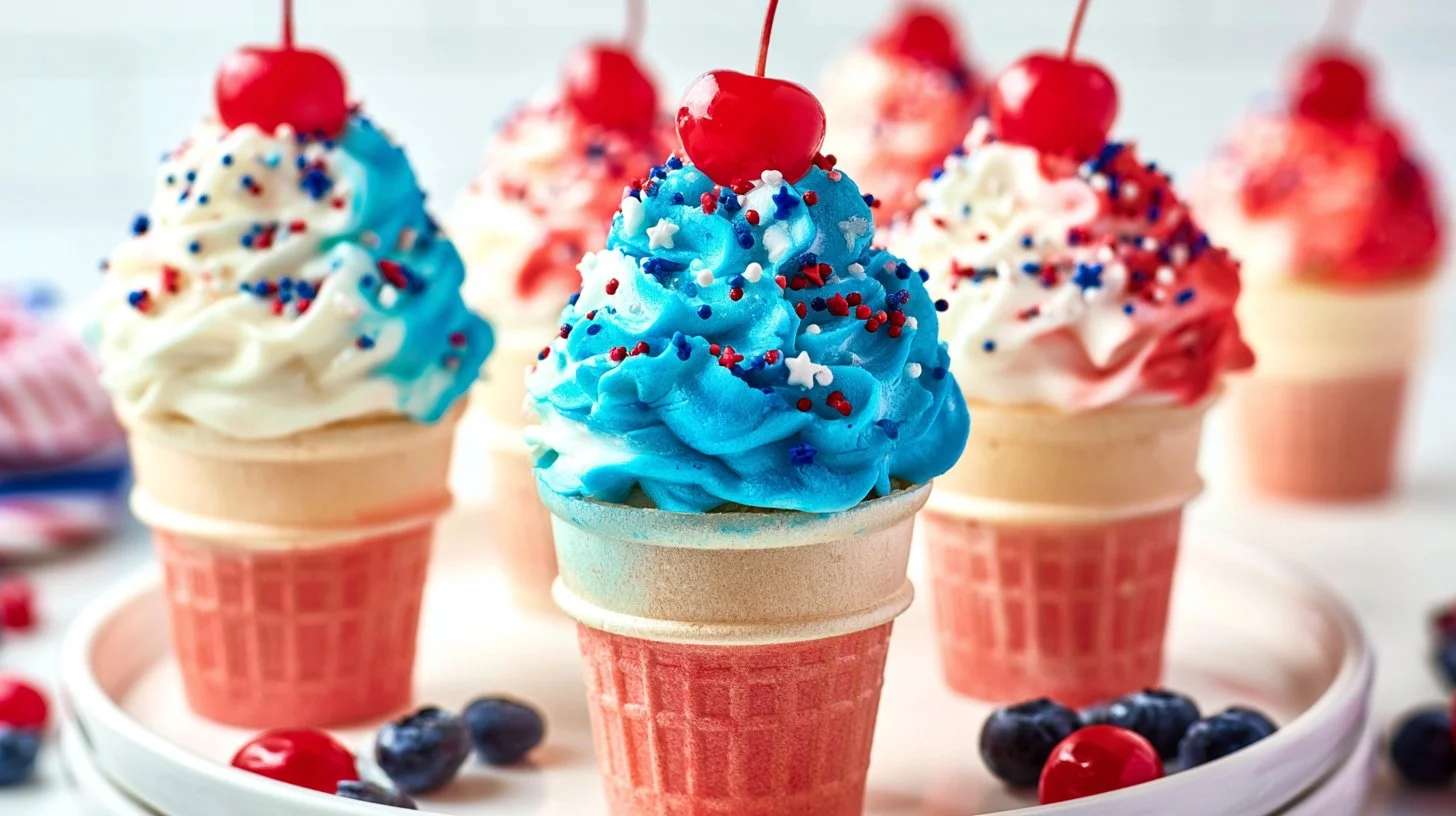
With the 4th of July just around the corner, it’s time to whip up some festive treats that will leave your friends and family cheering for more. Picture this: a delightful combination of cupcakes cleverly nestled in ice cream cones, topped with a swirl of velvety frosting in red, white, and blue, all sparkling with patriotic sprinkles. These 4th of July Ice Cream Cone Cupcakes are not only a treat for the taste buds but also a feast for the eyes, transforming your typical dessert table into a vibrant celebration of America’s independence. Perfect for BBQs, picnics, or fireworks displays, these cupcakes bring a sense of fun and nostalgia, ensuring memorable moments for everyone at your gathering.
Why You’ll Love This Recipe
- Festively Fun: The ice cream cone presentation adds a playful twist to traditional cupcakes, making them irresistible to kids and adults alike.
- Easy to Make: With simple ingredients and straightforward steps, these cupcakes are a breeze to prepare, even for beginner bakers.
- Customizable Toppings: You can easily switch up the colors or sprinkles to fit different themes or occasions, enhancing their versatility.
- Perfect for Sharing: The individual servings make it easy to share, keeping your celebration neat and organized without the need for plates.
- Deliciously Light: The white cake mix creates a light, fluffy texture, while the frosting provides a sweet finish that isn’t overly rich.
What Makes This Recipe Special
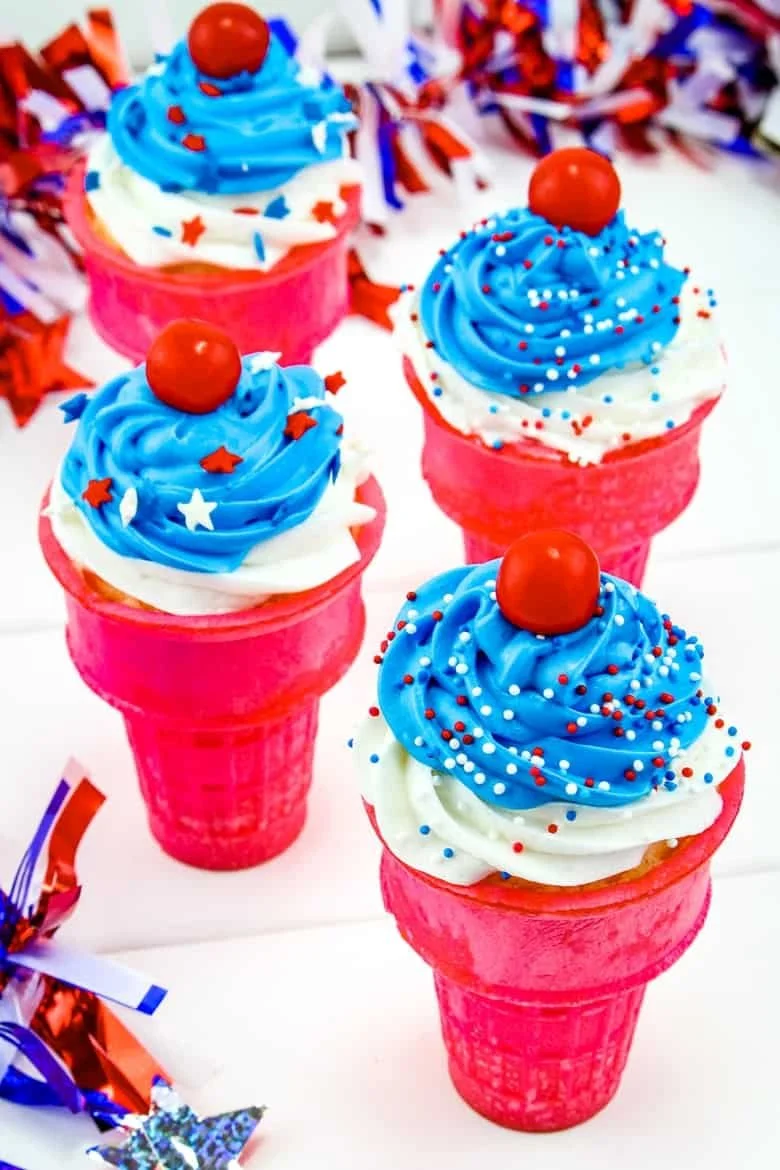
These 4th of July Ice Cream Cone Cupcakes are truly a standout dessert, combining the beloved flavors of vanilla cake and creamy frosting with a patriotic twist. Using a simple white cake mix ensures that the base is delightfully airy and moist, while the frosting is the canvas for your creative toppings. The blue food coloring and patriotic sprinkles bring the festive spirit to life, creating a visual treat that captures the essence of the holiday. Each cupcake, crowned with a sour cherry candy for a surprise pop of sweetness, offers both flavor and texture that delight the senses.
Ingredients
- 18 ice cream cones
- 16.25 ounces white cake mix
- White frosting
- Blue food coloring
- Patriotic sprinkles
- 18 sour cherry candies
Ingredient Notes and Easy Substitutions
- Ice Cream Cones: You can use either regular or mini cones, depending on your preference for size.
- Cake Mix: If you’re feeling adventurous, you can opt for a homemade vanilla cake recipe instead of a mix for a more personal touch.
- Frosting: Feel free to use store-bought frosting for convenience, or make your own for a homemade taste.
- Blue Food Coloring: Gel food coloring works best, but liquid can be used in a pinch—just be aware it may require more to achieve a vibrant hue.
- Patriotic Sprinkles: Any combination of red, white, and blue sprinkles can work, offering a chance to get creative!
Instructions
- Preheat the Oven: Start by preheating your oven to 350 degrees Fahrenheit.
- Prepare the Cake Mix: In a mixing bowl, prepare the cake mix according to the package directions.
- Fill the Cones: Carefully fill each ice cream cone about three-fourths full with the batter. This allows room for rising while keeping the topped cone crunchy.
- Bake: Place the filled cones upright on a cookie sheet. Bake for 15 to 17 minutes, or until a toothpick inserted into the center comes out clean.
- Cool the Cupcakes: Once baked, remove them from the oven and allow them to cool completely before frosting.
- Prepare the Frosting: In a small bowl, spoon half of the white frosting and mix in a few drops of blue food coloring until you achieve the desired shade. Keep the remaining frosting white.
- Frost the Cupcakes: Using a piping bag or a spatula, pipe the white frosting onto the cooled cupcakes first, creating a beautiful, snowy base. Follow with the blue frosting on top.
- Add Toppings: Finish your patriotic creations by sprinkling on some colorful patriotic sprinkles and placing a sour cherry candy on each for a delightful touch.
Expert Tips for the Best Results
- Don’t Overfill: Avoid overfilling the cones to prevent overflow and messy cupcakes. Three-quarters full is the sweet spot!
- Cool Completely: Ensure your cupcakes are fully cooled before frosting to prevent melting the frosting.
- Frosting Technique: Use a piping bag for a professional look. A star tip can create beautiful patterns and swirls.
- Presentation: Arrange your finished cupcakes on a festive platter, and consider placing decorative picks or flags in each cone for added flair.
Variations
- Chocolate Cake Cones: Swap the white cake mix for a chocolate variant for a delicious combo of flavors.
- Fruit-Flavored Frosting: Try adding flavored extracts, such as vanilla or almond, to your frosting for an extra taste dimension.
- Ice Cream Cone Sundaes: Replace the frosting with a scoop of your favorite ice cream for a delightful twist.
- Mini Versions: Use mini cones for bite-sized cupcakes that are perfect for kids or smaller gatherings.
- Themed Sprinkles: Change the sprinkles to match other holidays, like green for St. Patrick’s Day or orange for Halloween.
Serving Suggestions
These 4th of July Ice Cream Cone Cupcakes are best served at festive gatherings, barbecues, or picnics. Pair them with refreshing drinks like lemonade or iced tea. For an added presentation touch, present them on a platter garnished with fresh strawberries or blueberries. You can also offer whipped cream or flavored syrups on the side for guests to customize their cupcake experience.
Storage and Reheating
Store any leftover cupcakes in an airtight container at room temperature for up to two days. If you need to keep them longer, refrigerate them for about a week, but note that the cones may become a bit softer. If you’ve made them in advance, consider frosting them closer to serving time for the best texture and taste.
Common Mistakes to Avoid
- Baking Time: Keep an eye on baking times, as underbaking can lead to gooey centers, while overbaking can dry them out.
- Frosting Too Warm: If the kitchen is warm, allow the frosting to set in the refrigerator briefly before piping to prevent it from sliding off.
- Skipping Cooling: Frosting too soon can lead to melted, runny frosting. Always let the cupcakes cool completely.
FAQ
Can I use other colors instead of blue for the frosting?
Absolutely! You can customize the frosting colors based on your theme or occasion, such as pink for baby showers or green for St. Patrick’s Day.
How far in advance can I make the cupcakes?
You can prepare the cupcakes a day ahead of time, but it’s best to frost them just before serving for freshness.
Is it possible to freeze these cupcakes?
While you can freeze the unfrosted cupcakes for up to three months, freezing decorated cupcakes may result in texture loss. It’s best to frost them after thawing for optimal results.
Can I use gluten-free cake mix?
Yes! There are many gluten-free cake mixes available that can be used as a substitute for traditional mixes in this recipe.
How do I make my cupcakes more colorful?
In addition to the blue food coloring, feel free to mix in red food coloring into a portion of your frosting for an eye-catching layered effect.
What if I don’t have frosting tools?
No worries! A simple spatula can work wonders too. Use it to create a lovely swirl or spread a generous layer artfully on top.
Conclusion
These 4th of July Ice Cream Cone Cupcakes not only delight the palate but also evoke the carefree spirit of summer celebrations. With their whimsical presentation and delicious flavors, they are sure to become a favorite for your Independence Day festivities and beyond. Whether you’re hosting a backyard barbecue or enjoying a picnic in the park, these cupcakes are the perfect treat to enjoy while celebrating with loved ones. So why wait? Gather your ingredients, unleash your creativity, and make this delectable dessert that’s sure to be a hit—don’t forget to take a picture for Pinterest before they disappear!
4th of July Ice Cream Cone Cupcakes
Ingredients
Method
- Preheat your oven to 350 degrees Fahrenheit.
- In a mixing bowl, prepare the cake mix according to the package directions.
- Carefully fill each ice cream cone about three-fourths full with the batter.
- Place the filled cones upright on a cookie sheet.
- Bake for 15 to 17 minutes, or until a toothpick inserted into the center comes out clean.
- Once baked, remove them from the oven and allow them to cool completely before frosting.
- In a small bowl, spoon half of the white frosting and mix in blue food coloring until the desired shade is achieved.
- Pipe the white frosting onto the cooled cupcakes, then pipe the blue frosting on top.
- Finish by sprinkling on patriotic sprinkles and placing a sour cherry candy on each.